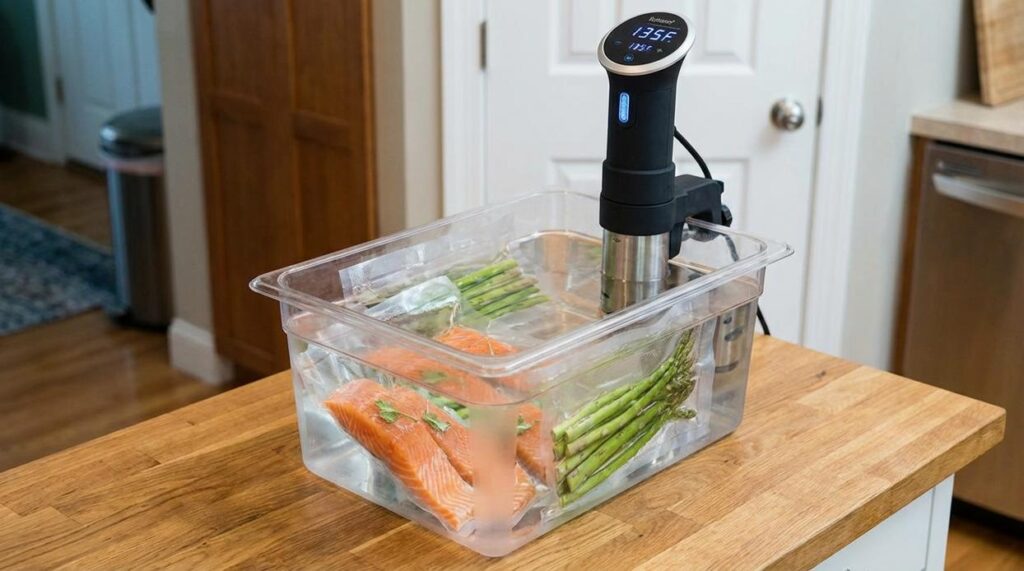

Cooking for yourself can be tricky. Maybe you’ve heard of sous vide, but what is it really? This sous vide beginners guide is here to break down the mystery.
If you’ve ever struggled with overcooked meat or bland flavors (who hasn’t?), this might be the game-changer you need. Sous vide isn’t just for fancy restaurants or top chefs. It’s for anyone willing to try something new in their kitchen.
But why should you trust this method? Because it’s backed by science. Slowly cooking food in a controlled water bath keeps flavors locked in and textures perfect.
You can achieve restaurant-quality meals at home without stressing over timers or temperatures. The idea of cooking in a vacuum-sealed bag might sound odd, but trust me, it’s easier than it looks.
Ready to dive in? By the end of this guide, you’ll know exactly how to use sous vide like a pro. Let’s get cooking!
Sous Vide: The Science of Perfect Results
Ever heard of sous vide? It’s a game-changer for anyone who loves precision in cooking. Imagine your food lounging in a perfectly warm bath, like a hot tub for your chicken or steak.
The water never gets too hot, so your food can’t overcook. This method uses a precise temperature control system to keep vacuum-sealed food submerged in a water bath. Sounds fancy?
It’s actually quite simple.
The beauty of sous vide lies in its consistency. When cooking with a pan or oven, you deal with temperatures much higher than what your food needs. This creates a small window for perfection and a big chance for disaster.
Ever tried to get that perfect medium-rare steak and ended up with something more like a shoe sole? Yeah, me too.
But with sous vide, the food reaches the exact temperature of the water and stays there. It’s like magic. No more guessing games.
You get perfect doneness from edge to edge. This method brings the precision and consistency of high-end restaurant chefs right into our kitchens.
For those diving into the world of modern cooking, the Introduction Molecular Gastronomy Home Cooks is a great resource. It shows how techniques like sous vide can make culinary experiments accessible to everyone.
So, if you’re a fan of juicy, perfectly cooked meals, the sous vide beginners guide is your best friend. It’s not just for fancy chefs anymore. It’s for you and me, turning our kitchens into a playground for culinary perfection.
Isn’t that what we all want?
The Important Toolkit: Must-Haves for Sous Vide
When I first dipped my toes into the world of sous vide, I was overwhelmed. The jargon, the gear. It felt like a lot.
But it doesn’t have to be.
First up, the immersion circulator. This is the engine of your sous vide operation. It heats and circulates water to maintain that precise temperature.
Without it, you’re just boiling water. Trust me, investing in a good one is worth it.
Next on your list: a water container. You don’t need anything fancy. A large stockpot or heat-safe plastic tub works perfectly.
Sure, a dedicated container with a lid can help prevent evaporation during those epic 24-hour cooks. But let’s not kid ourselves. Starting simple is fine.
Now, let’s talk bags. You’ve got two main options. Vacuum sealers are fantastic for getting that airtight seal, but they aren’t important for beginners.
The water displacement method using high-quality, BPA-free zip-top bags is a game-changer. It’s simple, effective, and doesn’t require extra gear.
If you’re diving in, this sous vide beginners guide has saved my bacon more than once. Literally. Starting out doesn’t need to be daunting.
Keep it simple and you’ll be cooking like a pro in no time.
Your First Sous Vide Success: Mastering Chicken Breast
Let’s tackle chicken breast, that notorious piece of protein known for its ability to dry out and disappoint. You want juicy, tender results? You’re in luck.
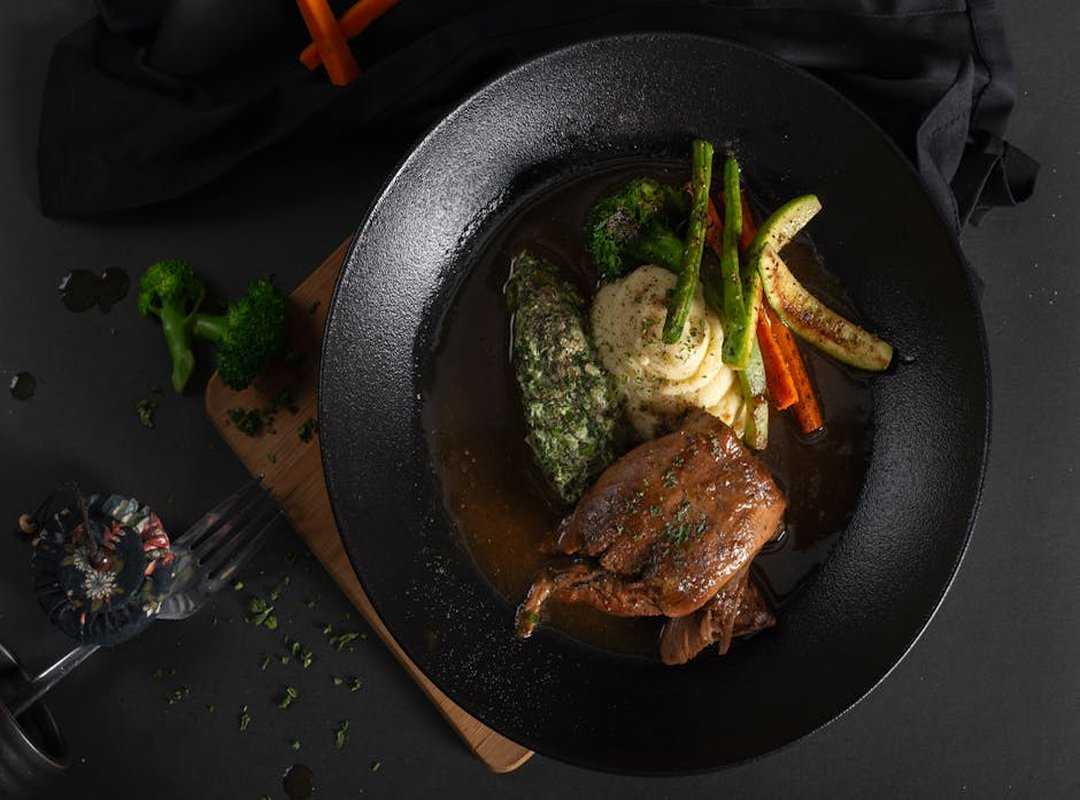
Sous vide is the way to go.
First, the Prep and Season stage. You don’t need to overdo it. Just salt and pepper.
Maybe a few herbs if you’re feeling fancy. The magic of sous vide is that no flavor escapes the bag, so a little goes a long way. It’s all about keeping things simple (trust me on this).
Next, you need to Bag It Up (but) do it right. The water displacement method is the hero here. Here’s how:
- Place the seasoned chicken in a bag.
- Lower the bag into water slowly.
Let the pressure push out the air.
- Seal it up just before the zip-top submerges.
Easy, right? Well, you’d be surprised how many people manage to mess it up.
Now, time and temperature. The stars of the sous vide show. For that perfect chicken breast, set your circulator to 149°F (65°C).
Give it at least an hour. This is where the sous vide beginners guide shines. Temperature controls doneness.
Time handles tenderness. You’ll never wonder if it’ll be dry again.
Finally, the sear. You can’t skip this. It’s all about the Maillard reaction (that’s science talk for delicious flavor and color).
Take the chicken out of the bag. Pat it dry with paper towels. Seriously, dry it like your life depends on it.
Sear it in hot oil. Just 30-60 seconds per side. The result?
Perfection.
Not into sous vide yet? I might ask why you’re still reading! But seriously, maybe you’d prefer exploring the art cooking liquid nitrogen.
That’s a different beast altogether.
With these steps, you won’t just make chicken. You’ll make chicken that impresses. It’s not rocket science, but it might just feel like it.
Get ready to embrace this modern cooking marvel and ditch those dry, disappointing dinners. Who knew chicken could be this good?
Avoiding Common Pitfalls: Three Mistakes Every Beginner Makes
Starting with sous vide can feel like you’re stepping into a science lab. It does have its quirks. But once you know what to avoid, it becomes smooth sailing.
Mistake #1: The Floating Bag. This one’s a classic. Nothing says uneven cooking like a bag bobbing around like a lost balloon. It happens because of trapped air or gases produced during cooking. A simple fix? Use a clip to attach the bag to the side of the container. Or pop a heavy spoon inside the bag. Easy peasy.
Mistake #2: A Weak, Grey Sear. We all crave that perfect crust, right? But moisture is the enemy here.
After you pull that deliciously cooked piece from its bag, take a moment. Pat it completely dry before it hits the pan. If you skip this, say goodbye to the sear of your dreams.
And then there’s Mistake #3: Seasoning Like You’re Grilling. This is a rookie move I see all the time. Remember, flavors concentrate inside that sealed bag.
So, if you’re thinking of tossing in raw garlic (stop.) It can turn weird. And be gentle with the salt. You can always sprinkle more finishing salt after searing.
These insider tips? They save you time, trust me. And who doesn’t want to skip the frustration?
Keep this sous vide beginners guide in mind. You’ll be cooking like a pro in no time.
Master Your Cooking Game Today
Cooking expensive proteins stressed you out, didn’t it? That ends now. You’ve learned how the sous vide beginners guide eliminates guesswork with precise temperature control.
It’s a game-changer, trust me. Now, you have a foolproof plan for your first perfect sous vide meal. Isn’t it time to stop just reading?
Choose your first protein today. Follow the steps in this guide. Experience the future of home cooking for yourself.
Don’t wait. You’re solving your cooking woes with the #1 rated method. Ready to eat like a pro?
Start now and taste the difference yourself.
 Billy Stevensonighter has opinions about recipe optimization hacks. Informed ones, backed by real experience — but opinions nonetheless, and they doesn't try to disguise them as neutral observation. They thinks a lot of what gets written about Recipe Optimization Hacks, Modern Cooking Techniques, Culinary Pulse is either too cautious to be useful or too confident to be credible, and they's work tends to sit deliberately in the space between those two failure modes.
Reading Billy's pieces, you get the sense of someone who has thought about this stuff seriously and arrived at actual conclusions — not just collected a range of perspectives and declined to pick one. That can be uncomfortable when they lands on something you disagree with. It's also why the writing is worth engaging with. Billy isn't interested in telling people what they want to hear. They is interested in telling them what they actually thinks, with enough reasoning behind it that you can push back if you want to. That kind of intellectual honesty is rarer than it should be.
What Billy is best at is the moment when a familiar topic reveals something unexpected — when the conventional wisdom turns out to be slightly off, or when a small shift in framing changes everything. They finds those moments consistently, which is why they's work tends to generate real discussion rather than just passive agreement.
Billy Stevensonighter has opinions about recipe optimization hacks. Informed ones, backed by real experience — but opinions nonetheless, and they doesn't try to disguise them as neutral observation. They thinks a lot of what gets written about Recipe Optimization Hacks, Modern Cooking Techniques, Culinary Pulse is either too cautious to be useful or too confident to be credible, and they's work tends to sit deliberately in the space between those two failure modes.
Reading Billy's pieces, you get the sense of someone who has thought about this stuff seriously and arrived at actual conclusions — not just collected a range of perspectives and declined to pick one. That can be uncomfortable when they lands on something you disagree with. It's also why the writing is worth engaging with. Billy isn't interested in telling people what they want to hear. They is interested in telling them what they actually thinks, with enough reasoning behind it that you can push back if you want to. That kind of intellectual honesty is rarer than it should be.
What Billy is best at is the moment when a familiar topic reveals something unexpected — when the conventional wisdom turns out to be slightly off, or when a small shift in framing changes everything. They finds those moments consistently, which is why they's work tends to generate real discussion rather than just passive agreement.