If you’ve ever been intrigued by foams, gels, or spheres on a plate but felt like molecular gastronomy belonged only in a lab or on TV, you’re not alone.
A lot of passionate cooks hit a wall when they hear terms like “spherification” or “emulsification.” It sounds like science class—not dinnertime. But guess what? These techniques aren’t as out of reach as they seem.
We’ve spent over a decade exploring global kitchens and streamlining complex techniques into recipes that actually work at home. Along the way, we’ve cracked the code on how to make molecular gastronomy basics accessible, practical, and—yes—enjoyable.
This article breaks down the key principles behind this modern culinary movement. You’ll learn what matters, what doesn’t, and how to bring a new layer of creativity into your kitchen without needing a chemistry degree.
By the end, molecular gastronomy basics will feel a lot less intimidating—and a lot more exciting.
What is Molecular Gastronomy? Beyond the Hype
By incorporating the principles of molecular gastronomy, you can not only elevate your cooking but also make nutritious meals exciting, a perfect complement to our Fhthrecipe Healthy Snack Guide From Fromhungertohope.
Molecular gastronomy basics? It’s not sorcery—it’s the simple (if slightly sciencey) study of the physical and chemical transformations that ingredients undergo during cooking.
Sounds academic, right? But here’s the twist: it’s actually a chef’s secret weapon. Think of it as understanding why egg whites foam or how gelatin sets, not just that they do. The goal isn’t to turn your kitchen into a lab—it’s to amp up the flavors, textures, and presentation of what goes on your plate.
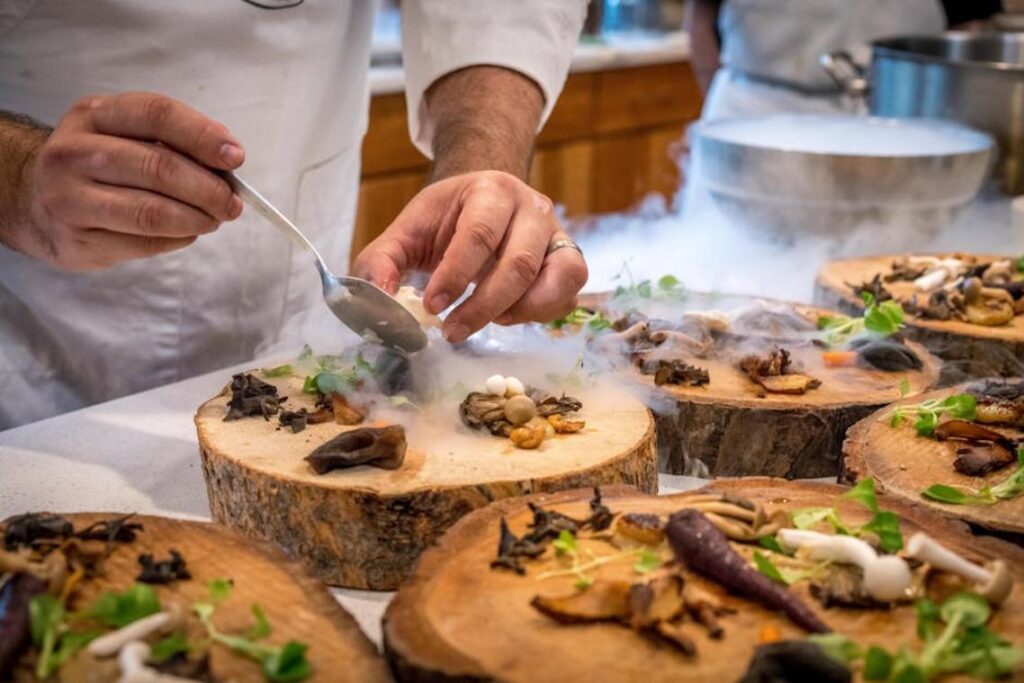
Some skeptics say it’s all smoke and mirrors (sometimes literally—thanks, liquid nitrogen). But when used right, it’s a path to real delight.
Here’s how you can bring science into your kitchen without a PhD:
- USE SOUS VIDE to cook proteins to exact temperature—perfect doneness, every time.
- ADD LECITHIN to create foams from juices, wines, or even coffee.
- EXPERIMENT WITH SODIUM ALGINATE to create spheres—olive oil caviar, anyone?
Pro tip: Start simple. Master emulsification before diving into spherification.
Core Technique 1: Spherification – Turning Liquids into Jewels
Back in 2003, when molecular gastronomy first started oozing into fine dining (pun intended), chefs began transforming liquids into shimmering pearls with a technique that looked like alchemy but tasted like innovation.
The concept here is spherification—a method that encases flavored liquids in delicate gelatinous skins, creating little bursts of taste that explode in your mouth. Think salmon roe… but made of mango purée or balsamic vinegar.
Here’s how it works: you mix your liquid with sodium alginate, then gently drop it into a calcium chloride (or calcium lactate) bath. A thin membrane forms instantly around the drop, crafting what looks suspiciously like futuristic caviar. This, folks, is molecular gastronomy basics.
There are two variations:
- Basic spherification is great for “caviar”-sized beads (perfect for garnishing cocktails).
- Reverse spherification allows for larger, longer-lasting spheres with liquid centers—ideal for items like olive spheres or yogurt pearls.
Pro tip: Fruit juices or savory broths work best for beginners—their natural pH reduces surprises. To adjust membrane thickness, just vary how long the spheres float in the calcium bath (but don’t overdo it, or you’ll end up with bouncing balls instead of flavor bombs).
Done right, you’re not cooking—you’re crafting edible jewelry.
Core Technique 2: Emulsions and Foams – Mastering Texture
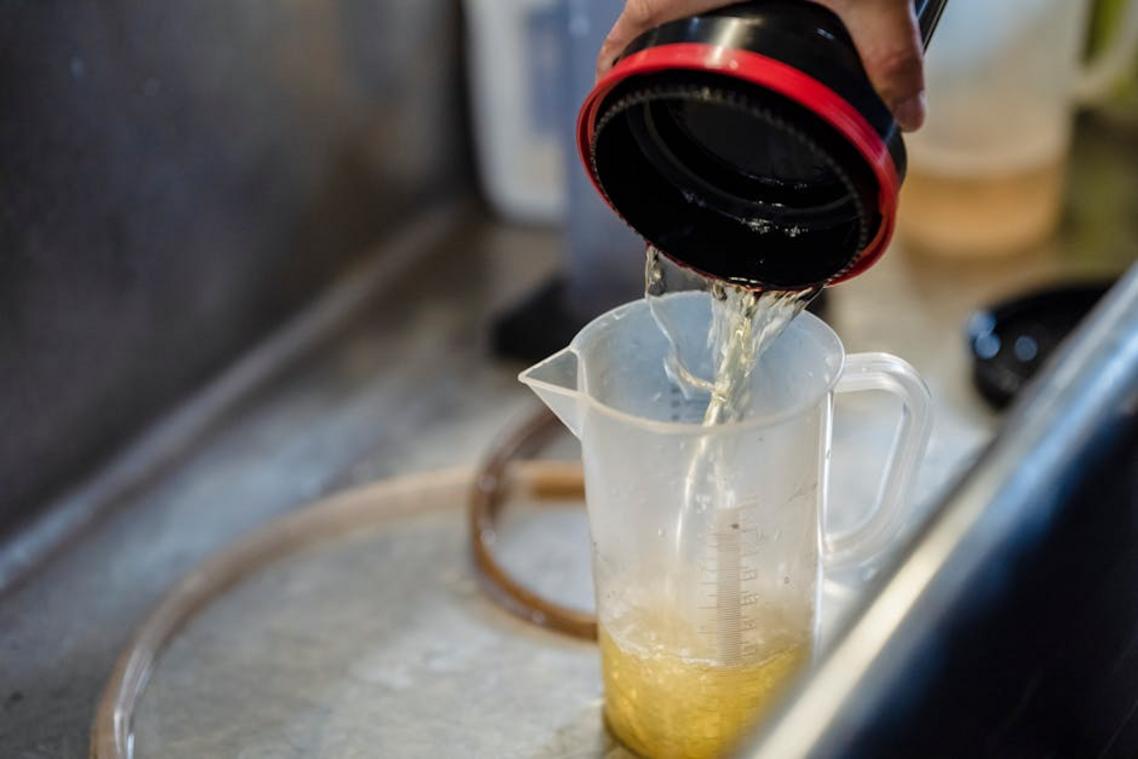
Most home cooks avoid emulsions and foams because, let’s face it, combining oil and water (two ingredients notoriously NOT friends) sounds like a science experiment gone wrong. But with the right tools and know-how? You can turn simple flavors into silky sauces—or even clouds of citrus air.
Let’s talk emulsions. These are stable mixtures of liquids that usually don’t mix—think salad dressings or hollandaise. The secret? Lecithin, a natural emulsifier (often from soy), that keeps things from separating.
Now, foams—also called espumas in modern cuisine—trap air in a liquid or solid to create something light, airy, and totally unexpected. Molecular gastronomy basics come into play here: combining chemistry with flavor to build textures that transform a dish without overwhelming it.
RECOMMENDATION: START WITH THIS SIMPLE FOAM
Use a whipped cream canister, a bit of gelatin or lecithin, and a fruit juice (berry or mango works wonders). Instant wow factor.
Want a savory route? Pair a Parmesan espuma with steak or a cilantro foam over Mexican street corn. It’s a balance of tradition and innovation (and no, it won’t feel like eating flavored shaving cream).
Here’s a quick cheat table to get you started:
| Use Case | Add This | Texture Achieved |
|---|---|---|
| Fruit Foams | Lecithin + Juice |
Airy & Fresh |
| Savory Espumas | Gelatin + Stock | Silky & Light |
| Creamy Emulsions | Lecithin + Oil | Smooth & Stable |
Pro tip: Stabilize first. Nothing breaks a dish (or heart) faster than a separated foam.
Need precision? Check out sous vide explained mastering precision cooking at home to see how tightly-controlled temperatures can make or break these textures.
(And yes—this is how top chefs achieve that mind-bending foam atop your $40 entrée.)
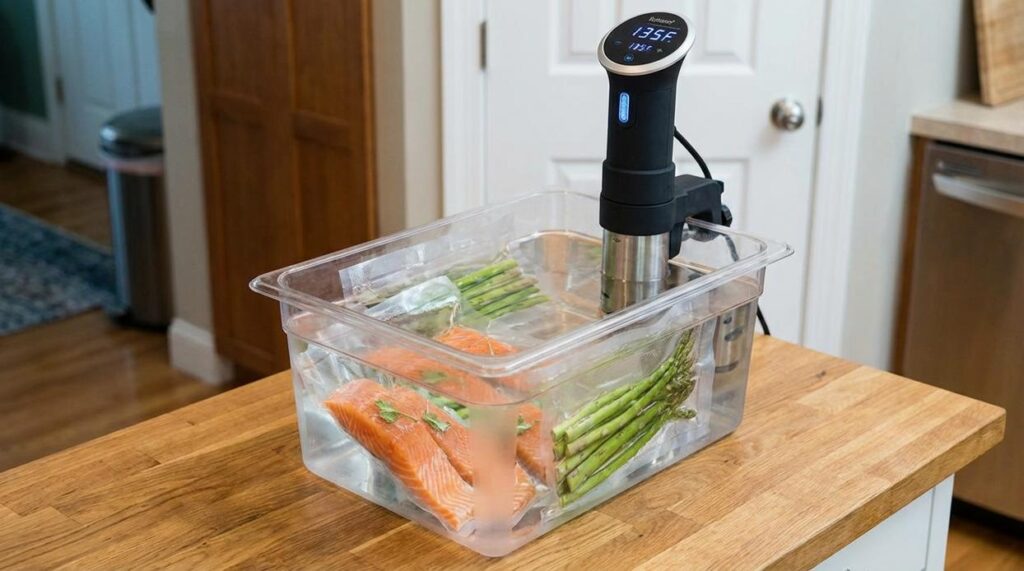
Core Technique 3: Sous Vide – The Power of Precision Cooking
Imagine slicing into a steak and finding every bite—every bite—exactly the same shade of rosy pink, from edge to center. That’s the magic of sous vide (French for “under vacuum”), a method where food is vacuum-sealed and cooked slowly in a temperature-controlled water bath.
Some say it’s overhyped or only for chefs with tweezers and lab coats. But let’s set the record straight with a sensory snapshot. When you cut into a chicken breast cooked this way, it’s not dry or stringy—it’s buttery soft, glistening with its own juices. Carrots? They emerge with a tender snap, tasting brighter and sweeter—like nature’s candy (yes, really).
Here’s where it goes beyond steak. Sous vide brings finesse to the humble egg, yielding yolks that are silky and custard-like, and infuses oils so they’re fragrant without being overpowering. With molecular gastronomy basics, precise heat manipulates proteins and textures at a cellular level—like giving science a seat at the dinner table.
And for the skeptics: No, it’s not cheating or robotic. (Unless you call flavorful, evenly cooked, nutrient-rich meals cheating.)
Pro tip: Pair your sous vide arsenal with a finishing sear—crackle, hiss, aroma of browned butter—and elevate your kitchen game from amateur to artisan.
Your Culinary Future: From Concept to Creation
You came here curious about the science behind the plate—and now you’ve got it.
We broke down the essentials of molecular gastronomy basics: spherification, foams, and sous vide. What once felt like chemistry class now feels like something you’d actually use in your kitchen.
The hardest part wasn’t learning the techniques—it was knowing where to start. That’s what we fixed. By showing you the “why” behind each method, you’re no longer copying chefs. You’re becoming one.
Your intent was to take the leap into modern cooking. Mission accomplished.
But learning is just the preheat phase.
Try this next: Pick ONE technique and get hands-on this week. Make balsamic caviar. Cook sous vide chicken. Start with a small win that makes a big impression on the plate.
We’ve helped thousands of home chefs turn theory into taste—and your turn is next.
Modern cuisine is ready when you are.
 Billy Stevensonighter has opinions about recipe optimization hacks. Informed ones, backed by real experience — but opinions nonetheless, and they doesn't try to disguise them as neutral observation. They thinks a lot of what gets written about Recipe Optimization Hacks, Modern Cooking Techniques, Culinary Pulse is either too cautious to be useful or too confident to be credible, and they's work tends to sit deliberately in the space between those two failure modes.
Reading Billy's pieces, you get the sense of someone who has thought about this stuff seriously and arrived at actual conclusions — not just collected a range of perspectives and declined to pick one. That can be uncomfortable when they lands on something you disagree with. It's also why the writing is worth engaging with. Billy isn't interested in telling people what they want to hear. They is interested in telling them what they actually thinks, with enough reasoning behind it that you can push back if you want to. That kind of intellectual honesty is rarer than it should be.
What Billy is best at is the moment when a familiar topic reveals something unexpected — when the conventional wisdom turns out to be slightly off, or when a small shift in framing changes everything. They finds those moments consistently, which is why they's work tends to generate real discussion rather than just passive agreement.
Billy Stevensonighter has opinions about recipe optimization hacks. Informed ones, backed by real experience — but opinions nonetheless, and they doesn't try to disguise them as neutral observation. They thinks a lot of what gets written about Recipe Optimization Hacks, Modern Cooking Techniques, Culinary Pulse is either too cautious to be useful or too confident to be credible, and they's work tends to sit deliberately in the space between those two failure modes.
Reading Billy's pieces, you get the sense of someone who has thought about this stuff seriously and arrived at actual conclusions — not just collected a range of perspectives and declined to pick one. That can be uncomfortable when they lands on something you disagree with. It's also why the writing is worth engaging with. Billy isn't interested in telling people what they want to hear. They is interested in telling them what they actually thinks, with enough reasoning behind it that you can push back if you want to. That kind of intellectual honesty is rarer than it should be.
What Billy is best at is the moment when a familiar topic reveals something unexpected — when the conventional wisdom turns out to be slightly off, or when a small shift in framing changes everything. They finds those moments consistently, which is why they's work tends to generate real discussion rather than just passive agreement.